Soldering Services Near Me – A Quick Guide to the Hand Soldering Process
Soldering is a fundamental technique in electronics, used to join electrical components to a printed circuit board (PCB) using solder—a metal alloy with a low melting point that acts like glue. Once the solder cools and hardens, it forms a permanent bond between the components.
The specifics of the soldering process can vary depending on the components and methods used, but the core principles remain consistent. Whether you’re handling this yourself or looking for professional help, searching for soldering services near me can connect you with reliable experts. For those interested in DIY, this guide covers the basics of hand soldering and offers insights into other soldering techniques.
The Hand Soldering Method
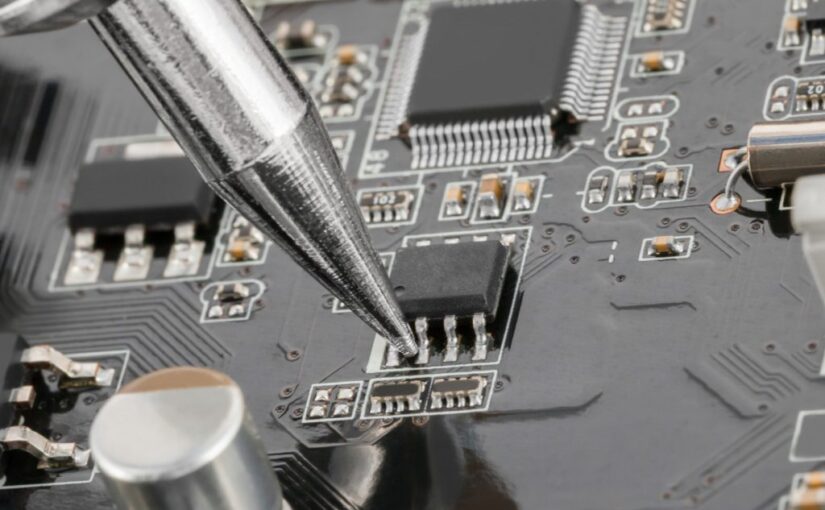
Hand soldering is one of the most crucial skills to master when working with electronics. It is often the final step in assembling prototypes and is essential for attaching both through-hole and surface-mounted components to PCBs.
While soldering may seem simple, it requires a steady hand, experience, and attention to detail. The following is a step-by-step guide to hand soldering:
Step 1: Prepare Your Workspace
Before starting, ensure that your workspace is clean and free of dust or debris, which could interfere with the soldering process. Set up your soldering iron stand within easy reach, and always return the iron to the stand when not in use to avoid accidents.
Step 2: Prepare the Soldering Iron
Before soldering, “tin” your soldering iron by coating its tip with a thin layer of solder. This improves heat transfer and protects the tip. Allow the iron to heat up to its working temperature, usually around 400°C. Once heated, apply a small amount of solder to the tip, ensuring it’s fully coated. Wipe off any excess with a damp sponge to prevent the flux from solidifying and leaving residue.
Step 3: Position the Components
When hand-soldering, it’s best to work on one or two components at a time. Start with smaller components to ensure the board stays flat and stable. For through-hole components, bend the leads slightly to hold the piece in place on the PCB.
Step 4: Apply Flux
Flux is essential for a clean and strong connection. It aids in heat transfer and removes oxidation from the metal surfaces. Apply a small amount of flux to the solder joint and component lead before soldering. This will result in a smoother and more reliable bond.
Step 5: Apply Heat
Add a small amount of solder to the tip of your iron to improve heat conduction. Then, touch the iron to both the component lead and the PCB at the same time. This heats both surfaces evenly, preparing them for soldering. Hold the iron in place for a few seconds, but be cautious not to overheat the area, as bubbling indicates excessive heat.
Step 6: Inspect and Finish
Allow the joint to cool completely before inspecting it. If it appears smooth and solid, move on to the next joint and repeat the process as needed. After you’ve finished soldering, clean the board by removing any excess flux, and tidy up your workspace.
If this seems manageable, you can attempt the DIY method. Otherwise, it’s best to seek professional help by finding soldering services near me for more complex or delicate jobs.
Final Thoughts
Whether you’re a hobbyist or an experienced technician, mastering the basics of hand soldering is essential. However, complex repairs or delicate electronics might be better handled by a professional soldering service. Searching for soldering services near me ensures you find skilled technicians who can handle your project with care and expertise.